You can dig a functional trench safely and efficiently with simple planning, the right tools, and attention to soil and slope. Decide the trench’s purpose, measure the length, width, and depth you need, and choose either hand tools or a trencher to match those dimensions before you start.
This article dig trenches, Expect practical guidance on step-by-step dig trench techniques, tool choices, and safety measures that help prevent cave-ins and protect what’s below ground. Follow clear instructions on shaping walls, creating proper drainage, and handling obstructions so your trench serves its purpose without surprises.
How to Dig Trenches
You will select the right tools, mark the route and depth precisely, dig using techniques that match soil and machine, and follow safety measures to protect people and structures. Focus on control, accuracy, and hazard avoidance at each step.
Choosing the Right Tools
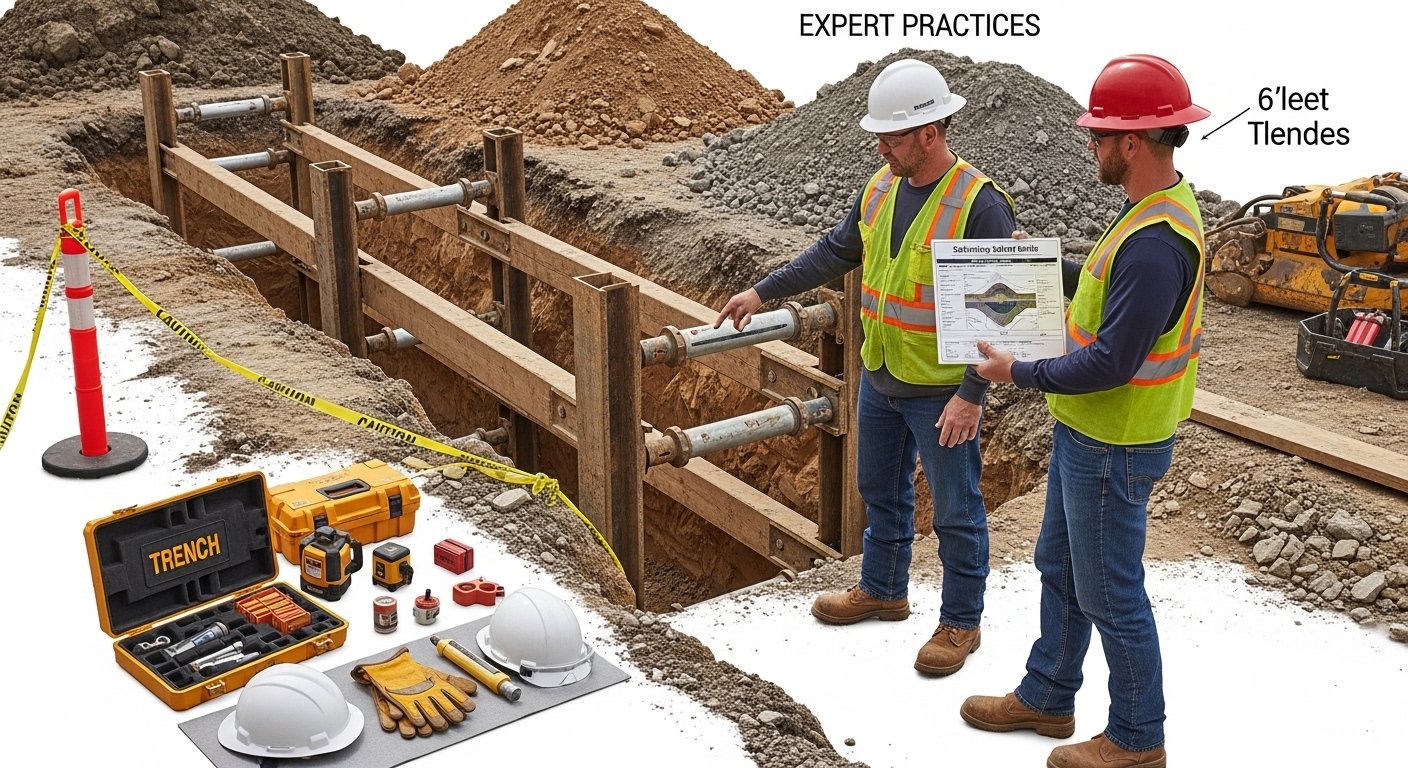
Match tools to trench size and soil type. For small drainage or cable trenches, use a trenching shovel, spade, and a mattock. For deeper or longer trenches, rent a walk-behind trencher or a compact excavator; choose an attachment width that fits the pipe or conduit you plan to lay.
Bring measuring gear: tape measure, string line with stakes, and a level or laser level. Wear PPE: hard hat, safety glasses, steel-toe boots, gloves, and high-visibility clothing. If rock or compacted clay is present, include a pickaxe or hydraulic breaker in your plan.
Organize spoil management tools: wheelbarrow, tarp for spoil placement, and plywood for traffic crossings. Arrange utility-locate services before you start.
Planning and Marking the Trench
Determine exact depth and slope requirements for your installation (e.g., minimum cover for water, sewer, or electrical lines). Calculate trench length and locate existing utilities using a professional locate service and site drawings.
Mark the trench path with stakes, spray paint, and a string line. Set grade control points every few meters and use a laser level or batter boards to maintain consistent depth and slope. Note surface features to avoid: trees, foundations, sidewalks, and drainage paths.
Plan spoil placement at least 1 meter from the trench edge. Identify access points for equipment and emergency egress for workers. Permit requirements and local codes should guide allowable depths and shoring needs.
Excavation Techniques
Start by cutting a clean edge with a trenching shovel or machine bucket, working along the marked string line. Excavate in lifts if digging deeper than about 1 meter; remove spoil after each lift to maintain clear working space.
Hand-dig around known utilities or structures; use vacuum excavation if precision is required. For machine work, choose a bucket width slightly wider than the pipe and keep the bucket face angled to create a flat bottom. Break up hard layers with a mattock or pick before lifting material.
Compact and grade the trench bottom to the required slope, adding bedding material (sand or crushed stone) where specified. Backfill in layers and compact each lift to prevent settling, keeping record of depths and locations for as-built documentation.
Trench Safety Precautions
Treat any trench over 1 meter deep as a hazard requiring protective systems. Use sloping, benching, shoring, or trench boxes appropriate to soil type and depth. Verify systems meet local regulations and engineered specifications.
Control access: restrict entry to authorized personnel, provide safe ladders or ramps within 7–9 meters of lateral travel, and keep heavy equipment away from edges. Monitor for hazardous atmospheres in deeper or confined trenches; test for low oxygen, methane, or VOCs and ventilate if needed.
Inspect the trench daily and after weather events. Stop work if signs of movement, cracking, water accumulation, or unstable spoil occur. Maintain clear communication and an emergency response plan with onsite leadership.
Applications and Considerations
You will use trenches for utility runs, drainage, foundations, and landscaping. Plan for soil behavior, underground obstacles, and routine finishing to keep the trench functional and safe.
Common Uses for Trenches
Trenches commonly carry pipes, electrical conduits, fiber optic cables, and stormwater drains. For water and sewer lines, maintain the minimum cover depth required by code—usually 18–36 inches for potable water and deeper for sewer mains.
When installing electrical or telecom, place labeled warning tape 12 inches above the conduit and follow separation distances from gas lines.
Trenches also serve as footings for walls and retaining structures; in those cases, size the trench to match engineered footing dimensions and compact backfill in lifts.
For landscape irrigation and lighting, you can use narrow excavators or trenchers to minimize disturbance and reduce backfill settlement.
Soil Types and Drainage
Identify soil type with a quick field test: sand drains freely, silts hold moisture, and clay becomes plastic when wet. Match protective systems to soil—slope or bench in Type A/B soils; sheeting or trench boxes for Type C.
Plan drainage to prevent standing water: install a perforated drain with geotextile wrap for soggy trenches, and provide positive slope (minimum 1% where possible) to carry water toward an outlet.
Amend backfill where needed; granular backfill improves permeability and compaction.
Document infiltration rates and groundwater depth before work to choose dewatering or pumping methods if needed.
Dealing With Obstacles
Locate buried utilities before you dig: call your local one-call service and use ground-penetrating radar for congested sites. Hand-excavate within the tolerance zone when you approach marked utilities.
For rock or concrete obstructions, use a hydraulic breaker on an excavator or saw-cut and remove in sections. Protect nearby utilities from vibration and lateral loading during breaking.
If you encounter unexpected voids or contaminated soil, stop work and notify the project engineer and environmental authority.
Plan traffic control and shoring adjustments when working near foundations or retaining structures to prevent undermining.
Finishing and Maintenance
Compact backfill in layers no greater than 6–8 inches using plate compactors or vibratory rollers depending on the trench width. Restore surface materials to match existing conditions—topsoil and seed for landscaping, compacted aggregate and pavement repairs for roads.
Install permanent markers and access points for valves, cleanouts, and junction boxes. Schedule inspections at 30 days and six months to check for settlement or erosion.
Maintain drainage features by flushing perforated drains annually and clearing catch basins of debris.
Keep a record of as-built depths, material types, and utility locations for future excavation safety and maintenance planning.